On May 16th, 2017 Instagram released face filters, and the world rejoiced.
Face filters are, “an easy way to turn an ordinary selfie into something fun and entertaining.”
Snapchat users will be intimately familiar with this augmented reality camera-tech.

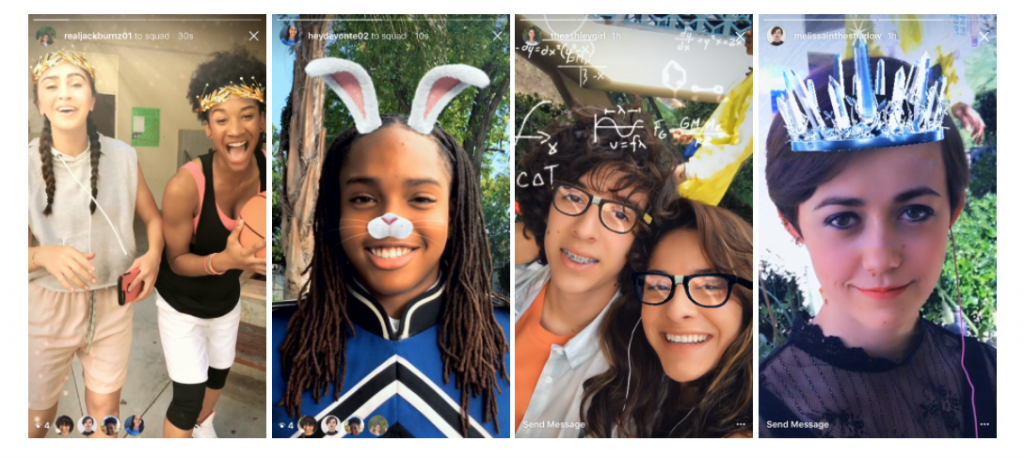
From princess tiaras to bunny ears, you know you want to experiment with Instagram’s new face filters.
We put together this quick guide to help:
How to use Instagram face filters:
Follow these 7 simple steps and you’ll be taking hilarious selfies in minutes!
- Get the update. Face filters are brand new so you may have to update your Instagram app to play around with them. Go to the app store on your device and make sure you have version 10.21 or later of Instagram. If not, update it!
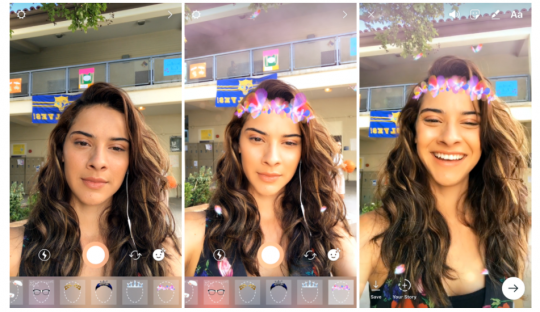
- Head to the Instagram Stories camera. Open Instagram, navigate to the home page, and click the camera icon in the top left to open the Stories camera.
- Aim the camera at your face. The easiest way to do this is to use the front facing camera. If you’re using the camera on the back of your phone, press the switch camera button located to the right of the take picture circle.
- Tap the “New Face Icon” in the bottom right corner. The button looks like a little white smiley face.
- Select a filter. The different options will show up in a rectangle at the bottom of your screen. Tap a filter to try it on.
- Take a picture / Record a video. Use the big circular capture button in the bottom center. Hold this button to take a short video.
- Press Next. This will take you to a list of people you can send your InstaStory to.
- Decide who to send your new creation. You can share it to your Story, or to your BFFs via direct message, or both! Click the circles to the right of each option to select it.
- Press send. Congratulate yourself on being the coolest kid on the block 🙂

Have you tried Instagram face filters yet? What do you think?


